Showing posts with label dessert. Show all posts

Thursday, March 24, 2011

Strawberry Lime Bars with Coconut Crust

I've been wanting to make a lime-coconut-something for a while now.  Just ask Sarah.  It was going to be cookies.  It really was.  But then...I glanced over to the other side of my counter and the strawberries that were sitting there called my name, loudly.  But the thought of using strawberries in cookies scares me a little.  I think they would look dirty.  So I decided to do bars.  I love bars.  No pun intended. 

I have a go-to recipe for lemon bars that I decided to tweak a little bit to make it extra yummy.  Here's what you'll need:

1 stick of butter
1 C. lightly packed brown sugar
2 C. flour
1 t. baking powder
1/2 t. salt
1 1/2 C. flaked coconut.  (using oatmeal is very good too)

3 limes
Strawberries
1/3 C. sugar
1 can sweetened condensed milk
Zest of one lime

Preheat oven to 325 degrees. 

Slice the strawberries and put them in a bowl with the sugar and the juice of one lime.  Let it sit for about thirty minutes to get all nice and glossy and sweet.


Mix together butter and brown sugar, for the crust.  Sift together the flour, baking powder and salt, then add it to the butter/sugar mixture.  Add the coconut and stir to combine.  You'll have extra, because I usually use these measurements for a double layer.  If you want to, you can use the leftover crust mixture and sprinkle it on top of the strawberry layer.
Press it into the bottom of a greased 8x8 pan.


Open up your can of sweetened condensed milk and mix it with the lime zest and 1/2 C. of lime juice.  The limes I had were NOT good for juicing, but luckily I had bottled lime juice on hand.  Mix it together well, then pour it on top of the crust.


Take the strawberries and put them in your blender and puree for a few seconds, until there are no more big chunks.  Pour it on top of the lime mixture and bake in preheated oven for 25 minutes.  Cool completely and cut into squares.  These are really good cold, so slide them in the fridge for a while before eating.

Friday, March 18, 2011

Grasshopper Pie

Make this.  Today.  Yes, Sarah, I'm talking to you.  You know you want to.

Once again, I found this recipe on The Pioneer Womans site.  I saw it and almost had to wipe my chin cuz I started drooling.  Food has that affect on me sometimes.

You start off with:
16 chocolate sandwich cookies.  I can't say Oreo's because I didn't use them.  But feel free to. :)
2 T. melted butter
1 (13 oz) container of marshmallow fluff
2/3 C. half and half
2 T. creme de menthe
2 T. creme de cocoa
Green food coloring (optional)
1 C. heavy whipping cream
Extra cookie crumbs, for sprinkling and general prettiness.

Start off by pounding the cookies to smithereens in a Ziploc bag.  I called in the expert for help with this.  He's good at pounding things. 

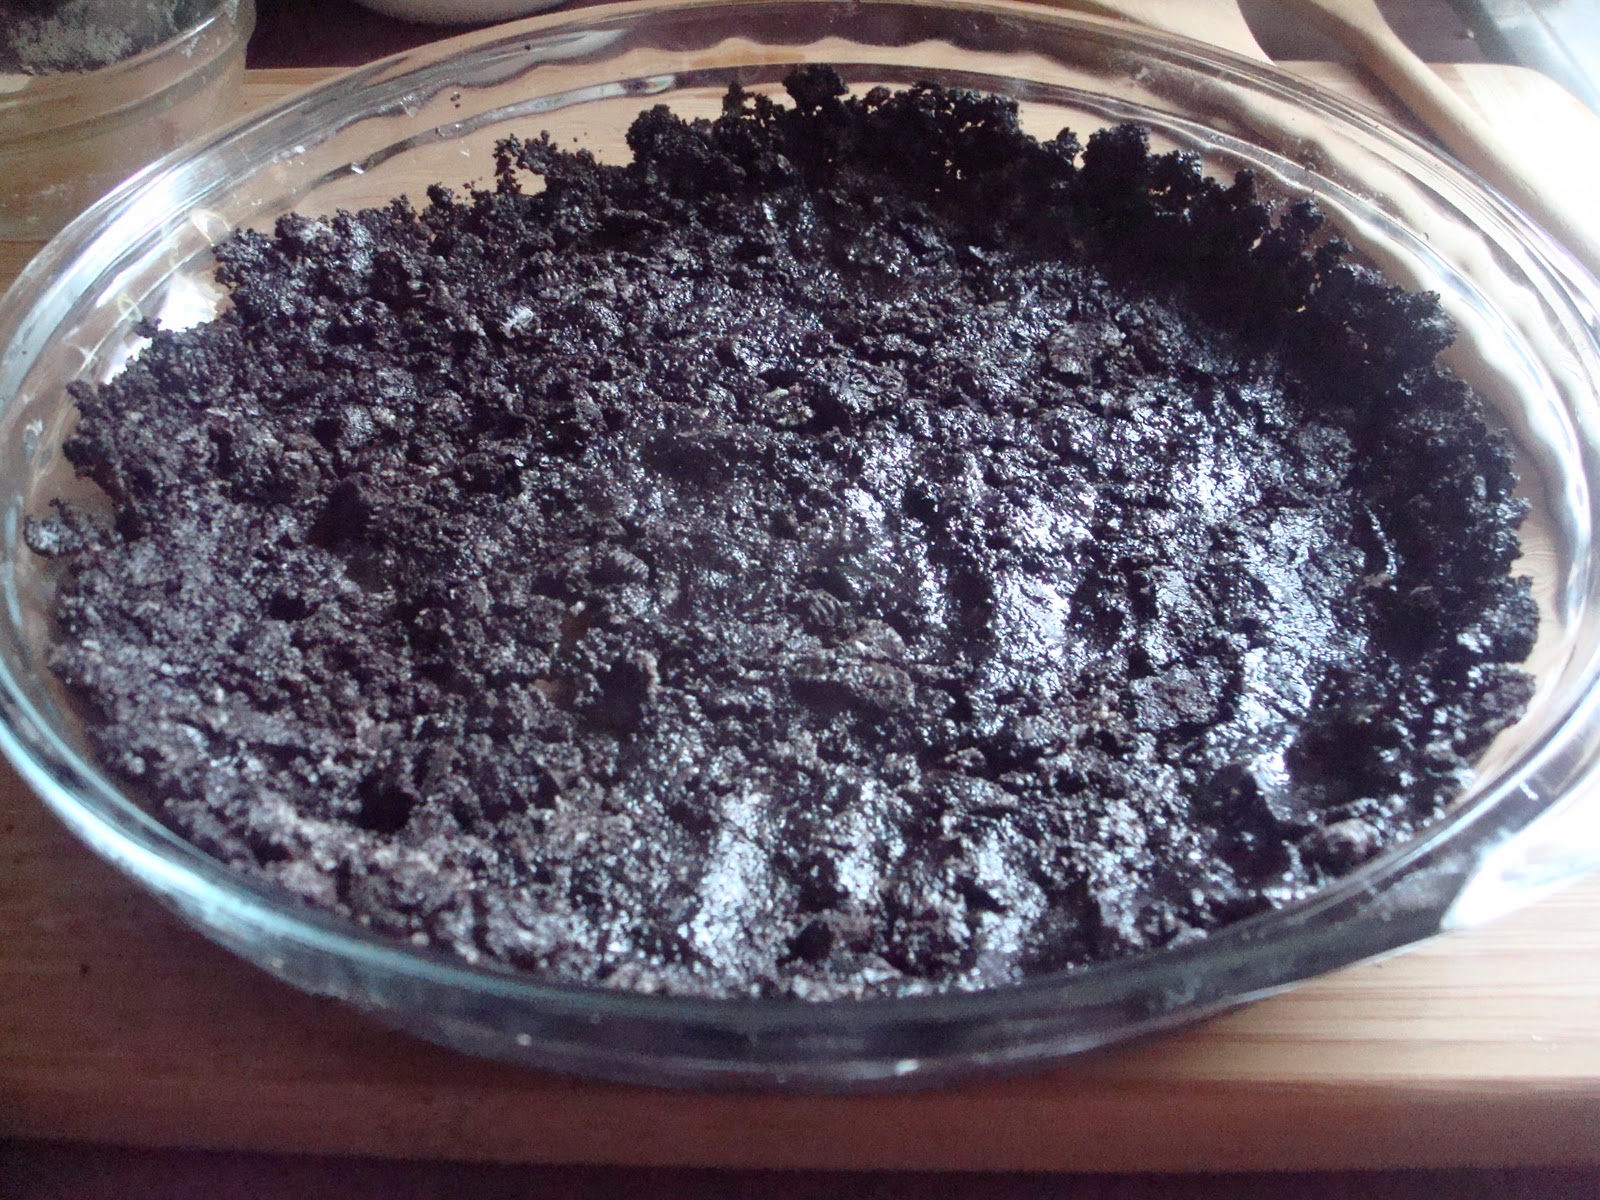
I forgot to add the butter to the first picture.  But it was there, I promise.  Melt it and add it to the pounded cookie crumbs in a bowl and mix well.  Then take your pie pan and press the mixture into the bottom and up the sides to make your crust.

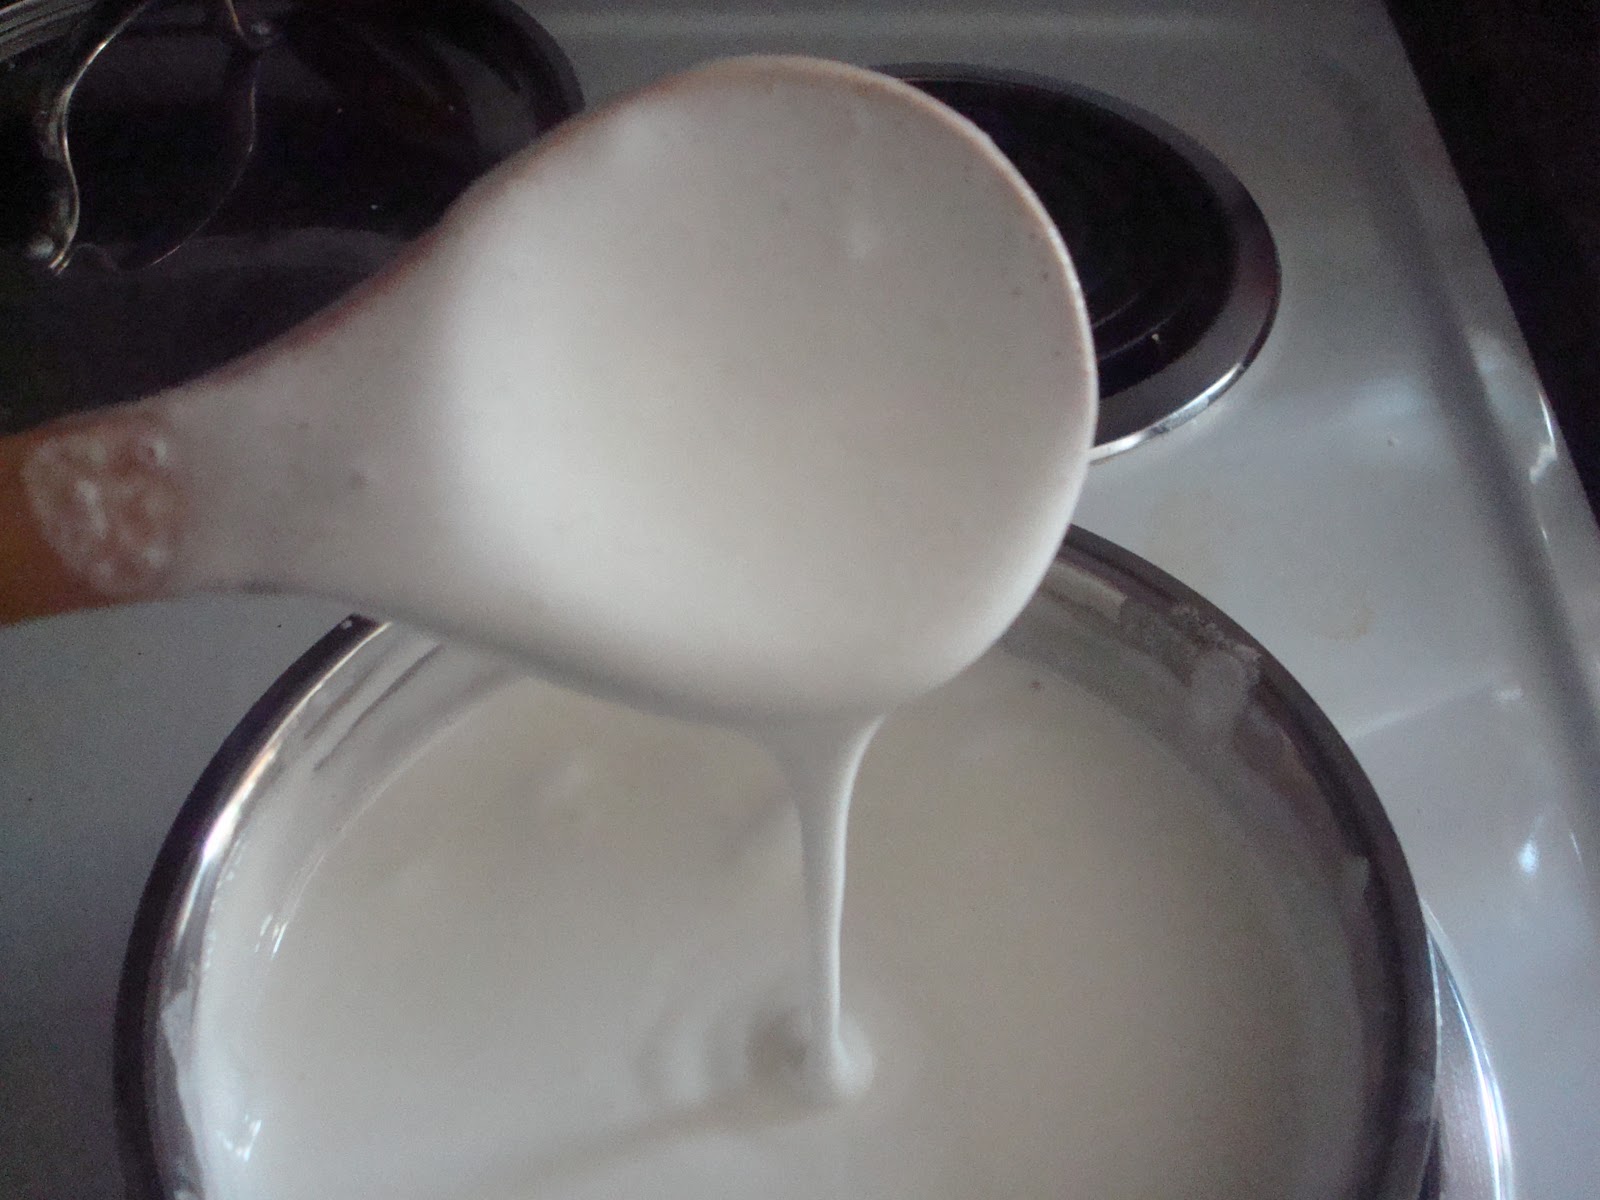
Take your marshmallow cream and put it in a pan over low heat with the half and half.  Stirring constantly, cook until this has melted and is pretty and smooth and creamy.


  Once its all smooth and nice, put your pot in a bowl of ice so it can cool the mixture down.  Once cooled completely (it'll be a bit cold, which is good.) Add the creme de menthe, creme de cocoa and some green food coloring, if you're using it.  Taste it and add more to your taste. 

 Now take your heavy whipping cream and whip it until its stiff.

Then take your cold marshmallow mixture and fold it into the whipped cream until well combined.  Try not to stick your fingers in it.  Just try, I dare you!

Pour the combined mixture into your crust.  Ooh and aah.  You won't be able to help yourself.


Top with crushed cookies.  Because its pretty.  Very pretty.  Then put it in the freezer for at least two hours.  Make sure you take it out at least ten minutes before you cut into it.

Enjoy!

Liz