Sunday, March 20, 2011

Somewhere Over the Rainbow for You Cupcakes

Ok, first off, I need to put a disclaimer. I got really slap-happy with the pictures here. It didn’t help that my kids were making these with me and that my older son loves to take pictures as well. So, I’ll blame him because it sounds like the right thing to do.

Second, Liz….I BAKED. Aren’t you proud? I know you are. I didn’t even need a Prozac beforehand.


And third…well, I don’t really have a third. For once, I don’t really have much of a story to put up here. I know, I know, everyone take a collective sigh of relief. I will say that the name of these cupcakes comes from the lyrics of a….bet you’ll never guess….yes, a Gaslight Anthem song called “The Blues, Mary”. Do you see all of this exposure I’m giving you, Brian Fallon, do you?? (God, if the lead singer of The Gaslight Anthem ever read this, I think I’d die)

The music: None today as I have Harry Potter and the Prisoner of Azkaban playing in the background
The drink: A Fuji Apple Pear Sobe Lifewater….yummmm

Anyway, here we go…Somewhere Over the Rainbow for You Cupcakes

For the cupcakes, you will need:
½ c. softened butter
¾ c. sugar
2 eggs
2 t. vanilla extract
1 ½ c. all-purpose flour
½ t. baking powder
¼ t. salt
2/3 c. milk


Preheat the oven to 350 degrees and set up your muffin/cupcake tin with liners.

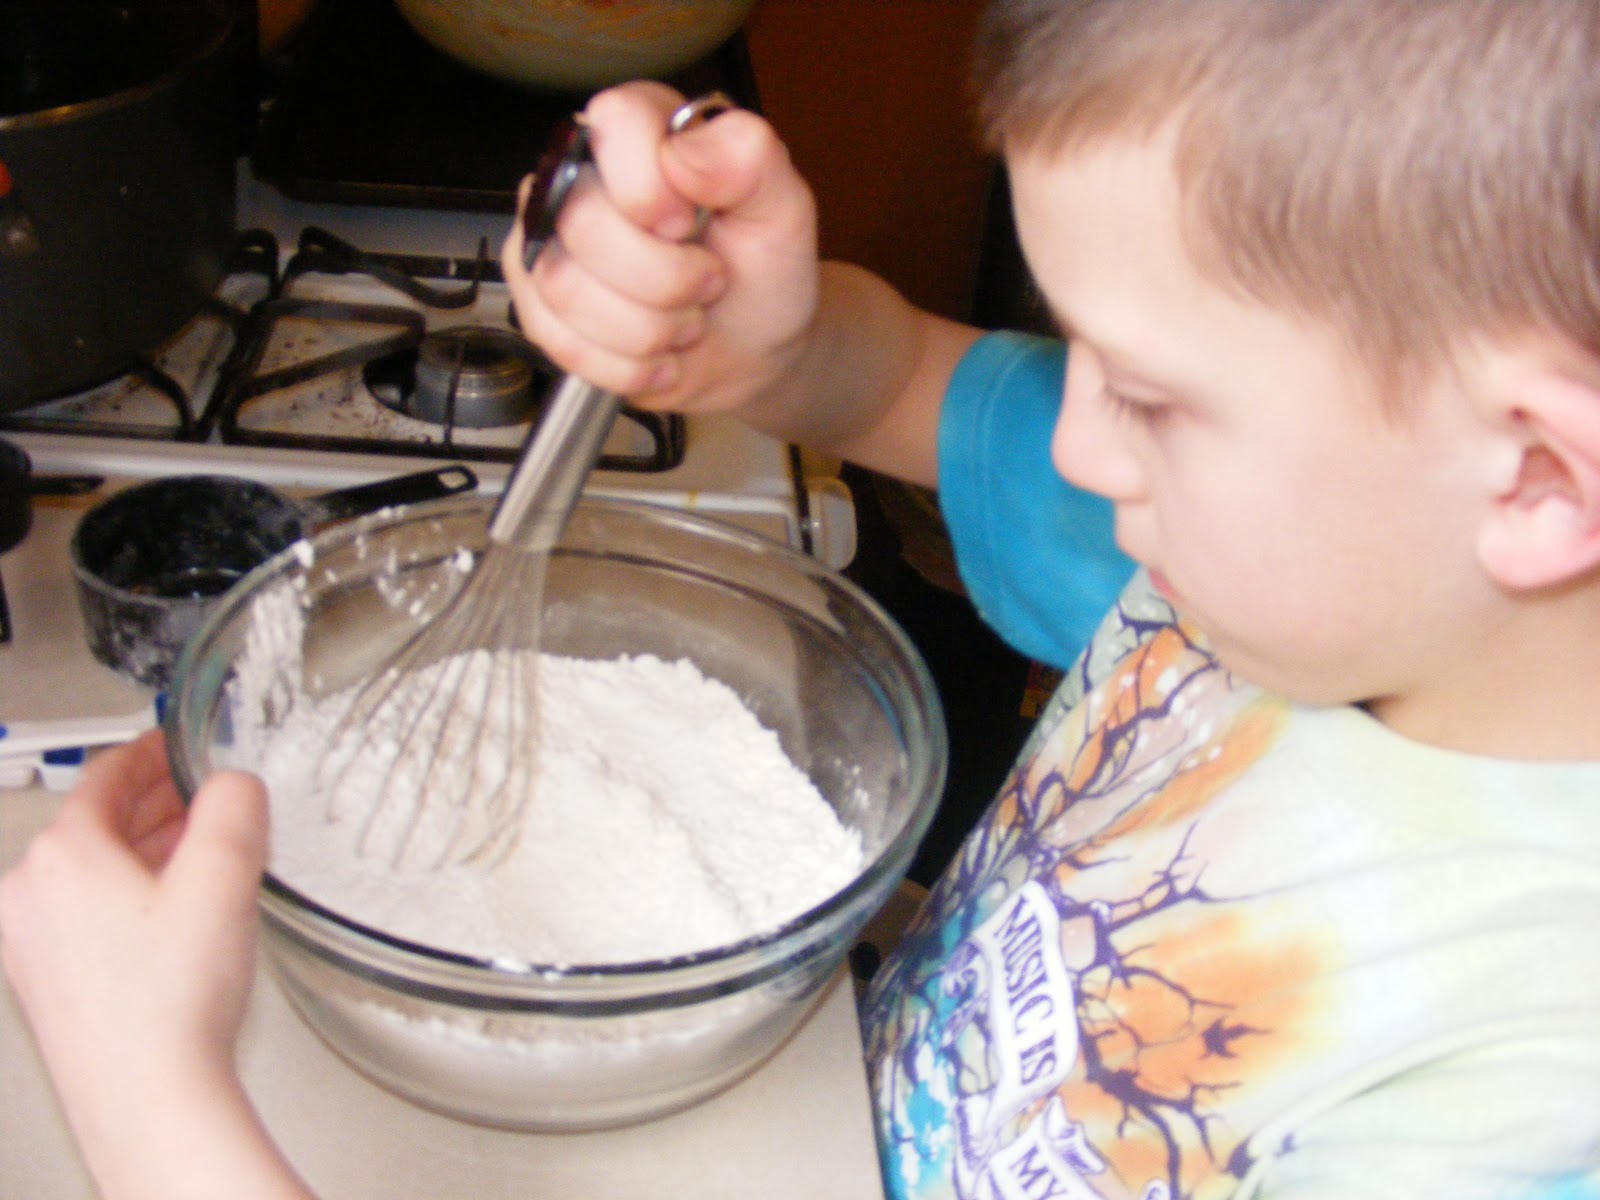
Cream the butter and sugar together first. See how I put my kid to work here? Cheap labor.


Then add the eggs one at a time, making sure that they are well mixed into the batter after each one
then mix in the vanilla. And now I have put the other munchkin to work…muwahahaha!!


Awww, look at them working together. This is epic.

Combine the dry ingredients into a small bowl, then mix together with a whisk. Add the dry ingredients and milk to the butter mixture, taking turns with both.


Now here comes the mass amount of dishes/time consuming part comes in. Put a bit of the batter into seven different bowls and add food coloring, making sure that there are no streaks left. Ooooo pretty……


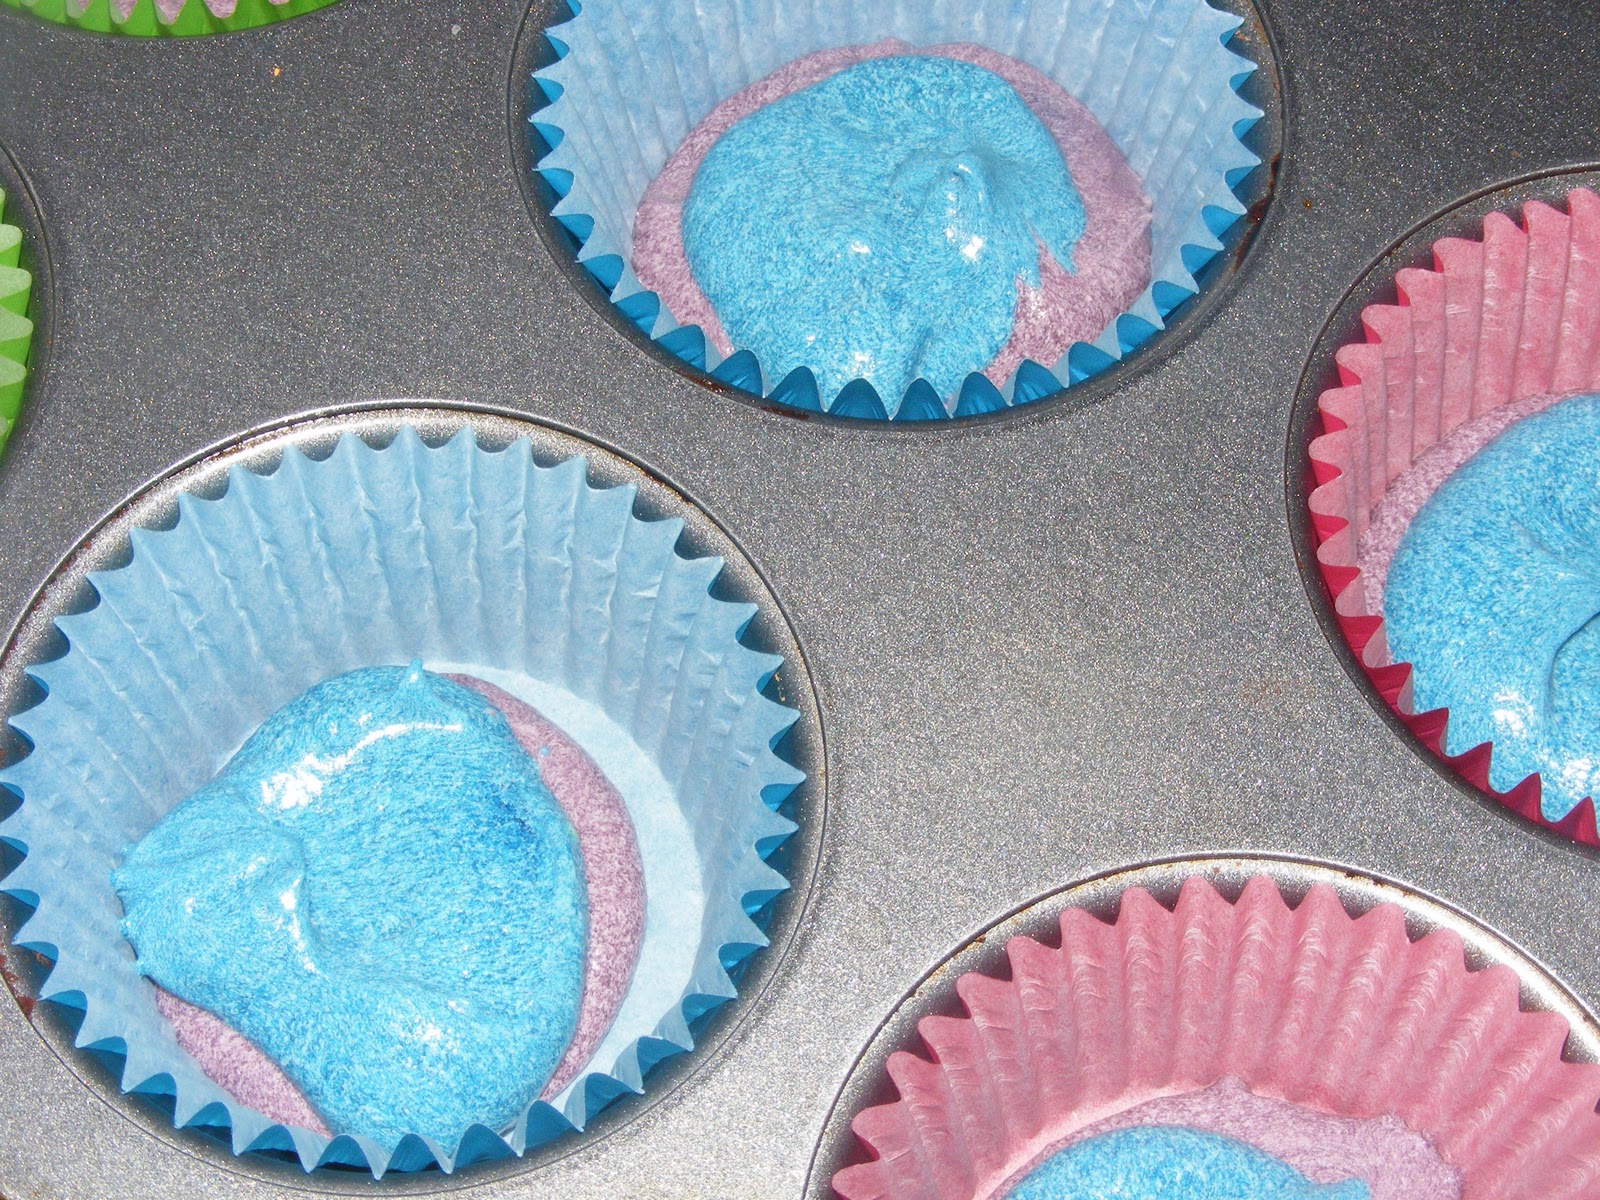
Spoon just a little bit of each color into each cupcake paper. Order: purple, blue, green, yellow, orange, and red. Then bake for 18-24 minutes (mine were in for 18) or until an inserted toothpick comes out clean.


Cool on a wire rack while making the frosting.

Almond Cream Cheese Frosting:
1 stick of butter; softened
1-8oz. package of cream cheese; softened
1 ½ t. almond extract (you can use vanilla if you don’t like almond)
2 ½ c. confectioners sugar

In a mixer, mix the butter and cream cheese together until smooth. Be sure to scrape the sides and bottom of the bowl.

Add the almond extract and mix, then add sugar slowly…little bits at a time. Taste the frosting and if you feel that it needs more flavoring or still isn’t quite sweet enough, go ahead and add more. Now go and frost those beautiful cupcakes!


Pretty huh!?!


Thanks to my little dudes for helping me out with these!


Love,
Sarah

Saturday, March 19, 2011

Blueberry and Mascarpone Turnovers

Well now I know I have to share this with everyone. The impossible has happened. My youngest little monster….LOVED these. He didn’t cringe, he didn’t whine, he didn’t even throw himself down on the floor and throw a five alarm tantrum. He ate. He loved. He ate some more.

Ever since I had seen these lovely little treats on Giada at Home on Food Network, I knew I had to try them. I mean blueberries, lemon, and mascarpone cheese? Come on…who wouldn’t want a face full of that?? Crazy people. That’s who. This recipe is incredibly easy and freaking awesome. It was kind of like baking without actually having to bake. Ok, not really, but it sounded good.

The music: The Gaslight Anthem…again. Check out their cover of “Come Together”. It’s epic. It makes me happy. You know, I should get something for talking about their music so much; like show tickets, or autographs, or for them to thank me in person and want me to become a groupie and travel everywhere with them and eventually cook for them. Their road chef! I could be their road chef! Ooops…got carried away there…..ANYWAY…..
The drink: Coffeeeeeee with Cinnabon flavored creamer. If you haven’t tried that creamer, try it. You’ll see God, I swear. Even if you don’t believe in God, you’ll see him. But I digress…..

Thank you, Giada De Laurentis for the faboosh om noms…..
½ c. mascarpone cheese, at room temperature
2 TB. granulated sugar (and a little extra for sprinkling)
½ tsp. cornstarch
1 tsp. lemon juice
1 tsp. lemon zest
1/3 c. fresh blueberries
2 (9 inch) refrigerated pie crusts
1 egg, beaten
Vegetable oil, for frying

Line a baking sheet with parchment paper and set aside. If you don’t have the fancy stuff, wax paper will work.

If you’re find it difficult to squeeze the juice out of a lemon, try rolling it on the counter a bit.

A box grater would work to zest the lemon. But I used my handy dandy…hand grater! (Forgive me, we’re totally watching Blue’s Clues right now)

Mix together the mascarpone, sugar, cornstarch, lemon juice, lemon zest until all smooth and beautiful.

Carefully stir in the blueberries so they don’t break or smush. I’m assuming I don’t need to remind anyone to wash the berries beforehand. If you wouldn’t have thought to do that…stop reading this blog. Right now. I mean it.

Using a 3 ½-inch cookie cutter (or a glass which I totally measured because I couldn’t find a round cookie cutter anywhere) cut the pie dough into 12 circles and place on the prepared baking sheet.

Lightly brush the edges of the dough with the beaten egg. This acts as a “glue”.

Place about 1 ½tsp. of the cheese mixture in the center of the dough. This gives about two or three berries per circle.


Fold the dough in half to enclose the filling and pinch the edges to seal.


Using a fork, carefully crimp the sealed edges. Then stick ‘em in the fridge for 10 minutes.

While the good stuff is getting all nice and chilly: In a large pot, poor enough oil to fill it at least half way. Heat over medium heat until a deep-frying (or candy) thermometer inserted in the oil reaches approx. 375 degrees F. Fry the turnovers for 1-1 ½ minutes until golden.


Drain on paper towels and sprinkle with sugar while still hot.

Cool for at least 10 minutes before serving.


Yummmmmmmmm. These turnovers…as my friend, Marissa, would say…are scandalous.

Love,
Sarah

PS: Sorry I went a little slap-happy with the pics. And, Liz, I’m totally stealing your Corned Beef and Cabbage recipe for next year!
:

Corned Beef and Cabbage

I know Sarah just posted a corned beef recipe, (and it looked uh-mazing) but I wanted to put mine up here as well, because I did it a little differently.  It was the first time trying it this way, but I think I will do it like this forever and ever from now on because it was good!  The meat was so tender and super tasty.  Here's what you need!

1 4lb corned beef roast (is that what they call it? A roast? I don't really know...)
2 Killian's Irish red beer (You could just as easily use Guiness, or any other kind of full flavored beer)
1/4 C. brown sugar.


I thought I wouldn't need two beers, so I only have one in the picture.  But I did end up using both of them.

Take your brown sugar and rub it all over the corned beef.  If you have a larger roast then obviously use more.  Place the corned beef in the crock pot.  Ok.  Now here comes the hard part.  So pay attention.

Open up the beer.  Don't take a drink.  Pour it into the crock pot.  Both of them.  If it doesn't quite cover the corned beef (mine didn't) go ahead and add a little water. 
 Cook on high for 4 hours, then turn the heat down to low and add carrots and quartered red potatoes.  Cook for three hours, or until vegetables are almost soft.  Add your cabbage and cook until tender.

 I couldn't fit all of the veggies in my crock pot, so I boiled some of them in a pot of water on the stove, and added the seasoning packet from the corned beef.  Yum. 

The meat was so tender and so tasty.  It was literally falling apart when I cut it.  So good. 
Have a great weekend everyone!

Liz

Friday, March 18, 2011

Grasshopper Pie

Make this.  Today.  Yes, Sarah, I'm talking to you.  You know you want to.

Once again, I found this recipe on The Pioneer Womans site.  I saw it and almost had to wipe my chin cuz I started drooling.  Food has that affect on me sometimes.

You start off with:
16 chocolate sandwich cookies.  I can't say Oreo's because I didn't use them.  But feel free to. :)
2 T. melted butter
1 (13 oz) container of marshmallow fluff
2/3 C. half and half
2 T. creme de menthe
2 T. creme de cocoa
Green food coloring (optional)
1 C. heavy whipping cream
Extra cookie crumbs, for sprinkling and general prettiness.

Start off by pounding the cookies to smithereens in a Ziploc bag.  I called in the expert for help with this.  He's good at pounding things. 

I forgot to add the butter to the first picture.  But it was there, I promise.  Melt it and add it to the pounded cookie crumbs in a bowl and mix well.  Then take your pie pan and press the mixture into the bottom and up the sides to make your crust.

Take your marshmallow cream and put it in a pan over low heat with the half and half.  Stirring constantly, cook until this has melted and is pretty and smooth and creamy.


  Once its all smooth and nice, put your pot in a bowl of ice so it can cool the mixture down.  Once cooled completely (it'll be a bit cold, which is good.) Add the creme de menthe, creme de cocoa and some green food coloring, if you're using it.  Taste it and add more to your taste. 

 Now take your heavy whipping cream and whip it until its stiff.

Then take your cold marshmallow mixture and fold it into the whipped cream until well combined.  Try not to stick your fingers in it.  Just try, I dare you!

Pour the combined mixture into your crust.  Ooh and aah.  You won't be able to help yourself.


Top with crushed cookies.  Because its pretty.  Very pretty.  Then put it in the freezer for at least two hours.  Make sure you take it out at least ten minutes before you cut into it.

Enjoy!

Liz